This step includes instructions on how to download ID-Rights demo app, ID-Rights client API and on how to run the demo app.
Topics found on this page:
Download ID-Rights demo app
The demo app is a standalone Java application that demonstrates how ID-Rights service can be integrated into a typical application. Even though this demo app is written as a Java application, the ID-Rights service is equally accessible using any other language or platform.
ID-Rights demo app can be downloaded from here: id-rights-demo-app.zip
The zip file (downloadable from the above link) contains a runnable jar file and source code of the demo app.
Download ID-Rights Client API
The ID-Rights client API is a Java API that can be used by customer to communicate with ID-Rights service. It provides implementation for all XML messages that are supported by ID-Rights service i.e. to get signature data, to verify signing rights, to get historical response, etc.
Click here to download ID-Rights Java Client API ID-Rights Java client API.zip
Install and run the demo app
PKCS12 keystore file (p12) and its password are required to run ID-Rights demo app. Contact IN Groupe support using the Contact us form to receive p12 and password. To receive a dedicated setup, you need to be an ID-Rights customer. To become a customer, contact our sales department. Once received, follow the below steps to run the demo app.
Java 8 is required to run this demo app.
-
Unzip the zip file (id-rights-demo-app.zip)
-
Navigate to target folder inside the unzipped package i.e. <your_parent_folder>/id-rights-demo-app/target
-
Copy the received p12 file into target folder
-
Open command prompt or terminal in that folder
-
Run the below command:
java -Dfile.encoding=UTF-8 -jar id-rights-demo-app.jar <p12-file> <p12-password>
The command above will start a web server that can be accessed using the following URL (this URL is displayed in the command prompt or terminal as well)
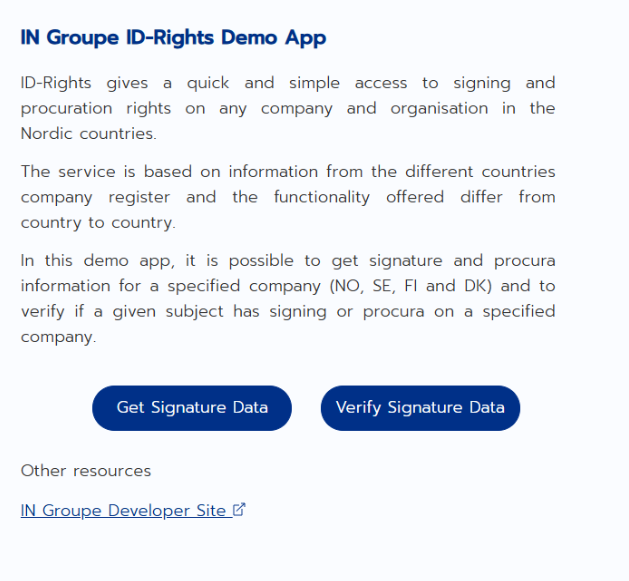
The browser should display the initial page that looks similar to the following screenshot:
Continue to Step 2.